In this article, I will show you How to Create Manipulation 3D with Photoshop where I will combine Multiple images. The Process starts with cutting, selecting and cutting the Sheep from the background. After that, I will show you how to fit the sheep inside the iPhone, where the boring parts of cutting and pasting are done. Remaining up with rest, first I will do color correction over the sheep. Where I will create shadow, cast shadow and more. After that, the very interesting parts begun with overall color corrections, where I will use the adjustments. Such as Color balance, curves which have a crucial rule in color correction settings. And finally, this post is for intermediate personalities with Photoshop.
Create Manipulation 3D with Photoshop
Step 1. Press Ctrl+ O and open iPhone image.
Step 2. Navigate to the File menu and select Place, they place the sheep image. After placing the image, reduce the opacity and place that in the middle of the iPhone.
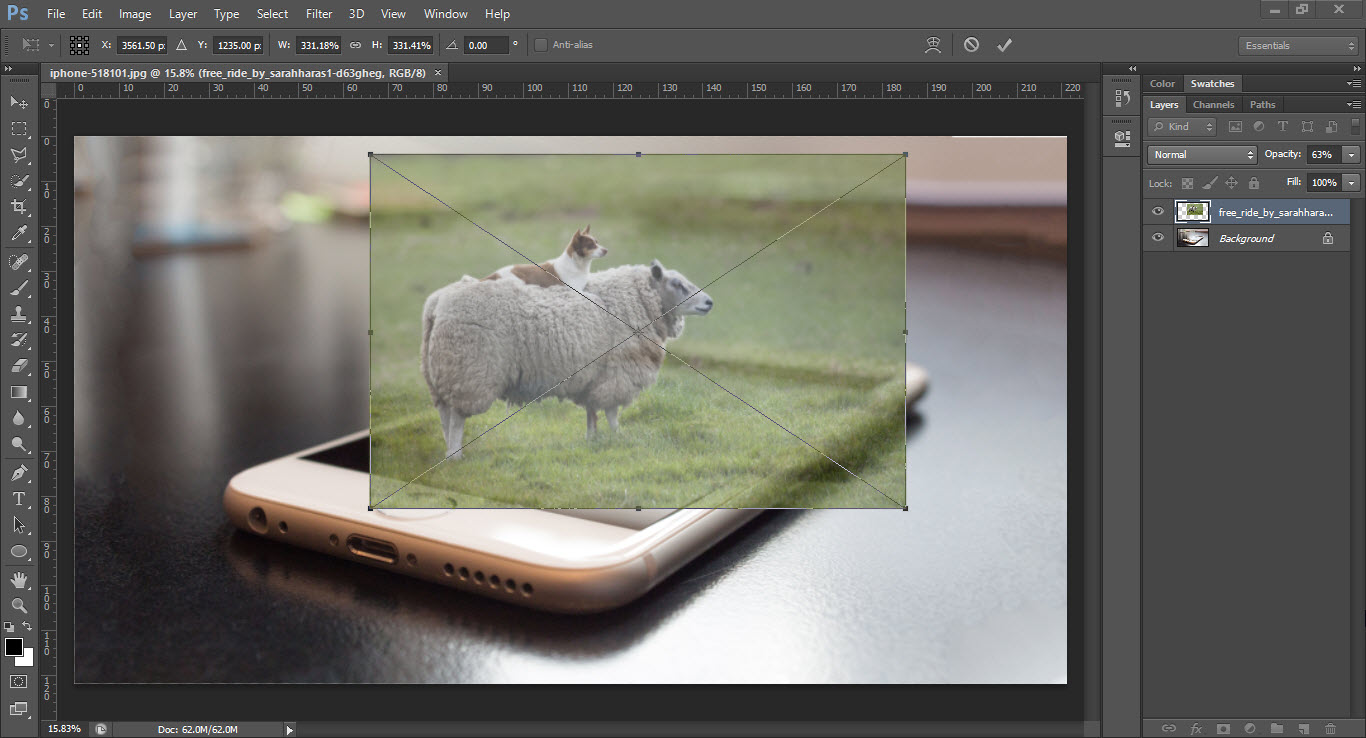
Placing the image
Step 3. Once the Placing and fitting it has done. Select the ship and cut that form the background. You can use any tool by which you are comfortable to use. I’m using the Quick Selection tool.
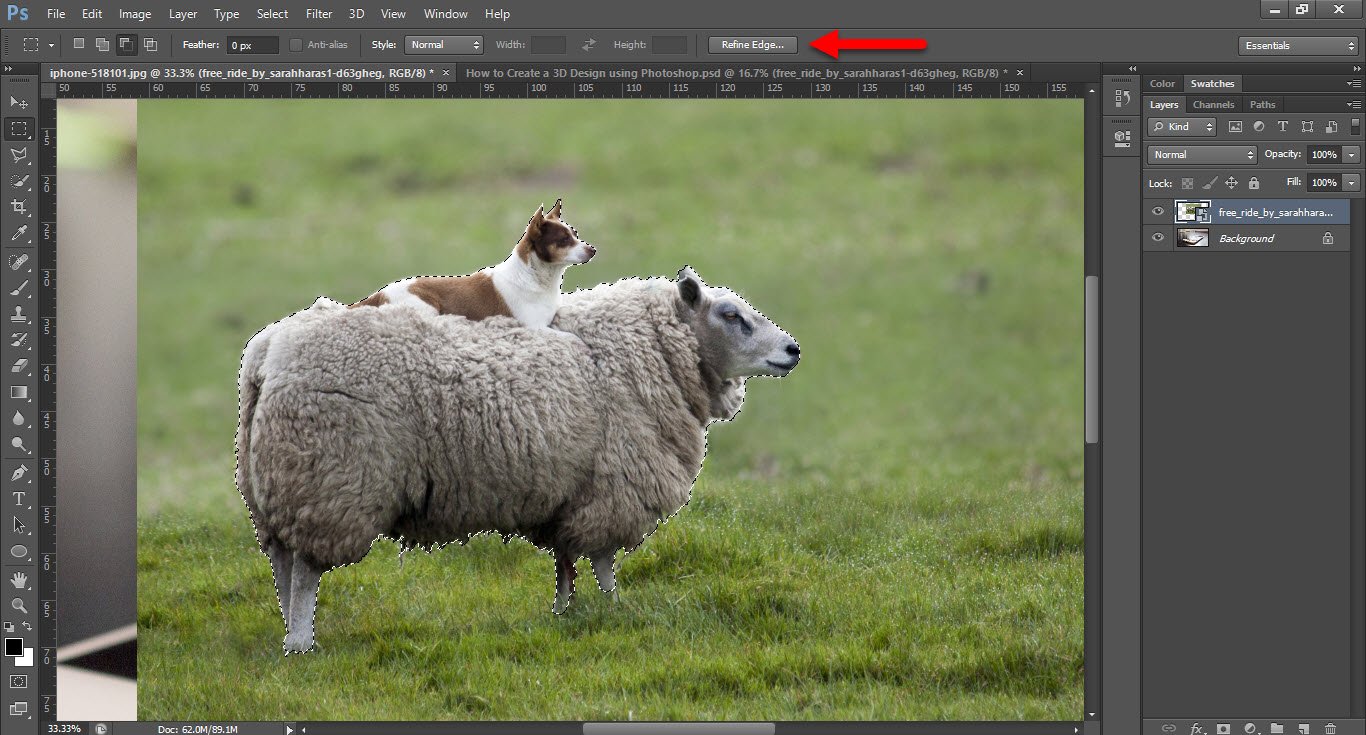
Quick Selection
Step 4. When the selection is done. I know some parts are remaining which have not been selected so well. In order to select them perfectly, select refine edge from tool control menu.
Step 5. In Refine Edge window, select its background as blank, and brush around the sheep.
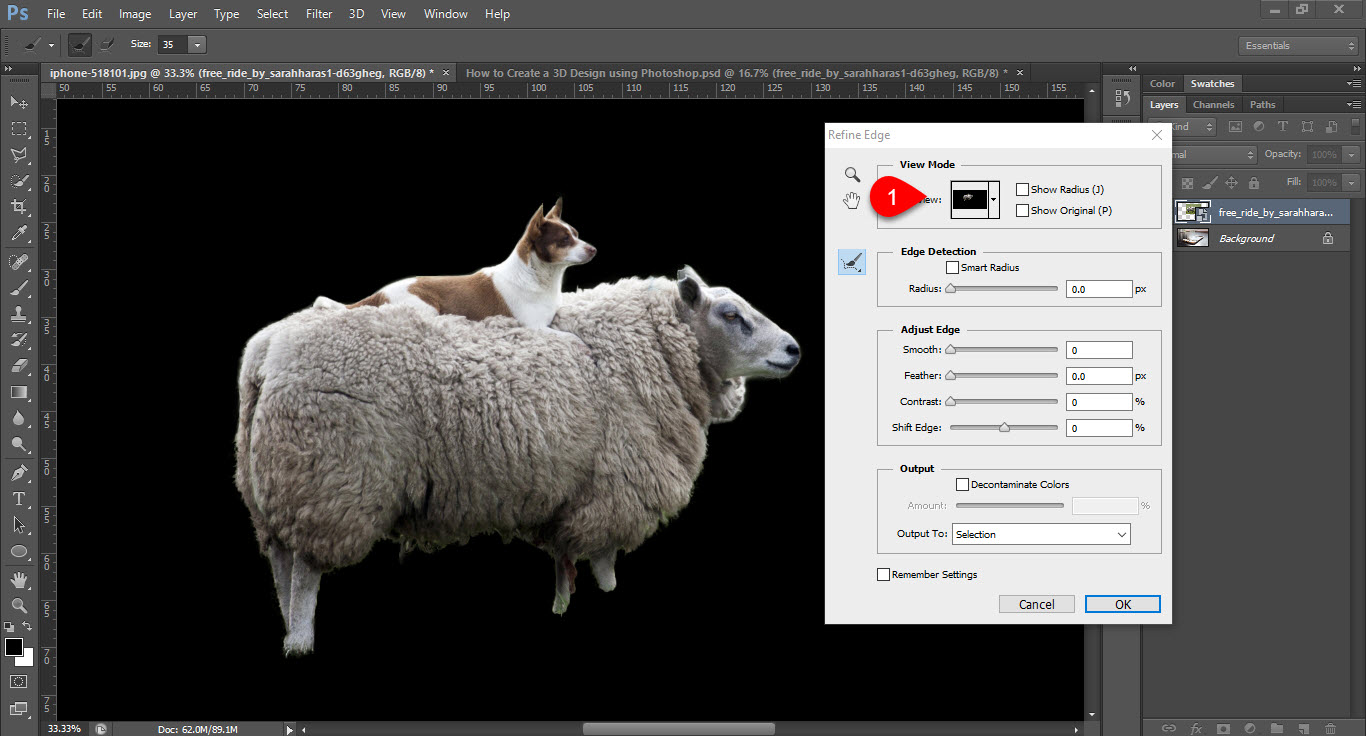
Refine Edge Settings
Step 6. When you are done with Refine edge. You need to create a Mask for the selected parts. On the layer, window select Add vector mask.
Step 7. After that Duplicate the Layer by pressing Ctrl+ J. Select the Duplicate layer, select the mask in it and Press Ctrl+ I to invert the Mask. Now you can see the Background and sheep are on a separate layer.

Duplicate the layer
Step 8. Hold Alt key and click on the eye of the Background which is iPhone. This command will hide all the other layers except the selected layer.
Step 9. Select the Pen tool and make a path around the screen of the iPhone.
Create a Path Using Pen Tool
Step 10. Press Ctrl+ Enter to turn the path into a selection. Now select the sheep background layer.
- First, rasterize the layer by right-clicking and selecting rasterize layer.
- Select Mask the Mask form the mask menu.
- With Brush tool selected, bring the legs of the sheep back.
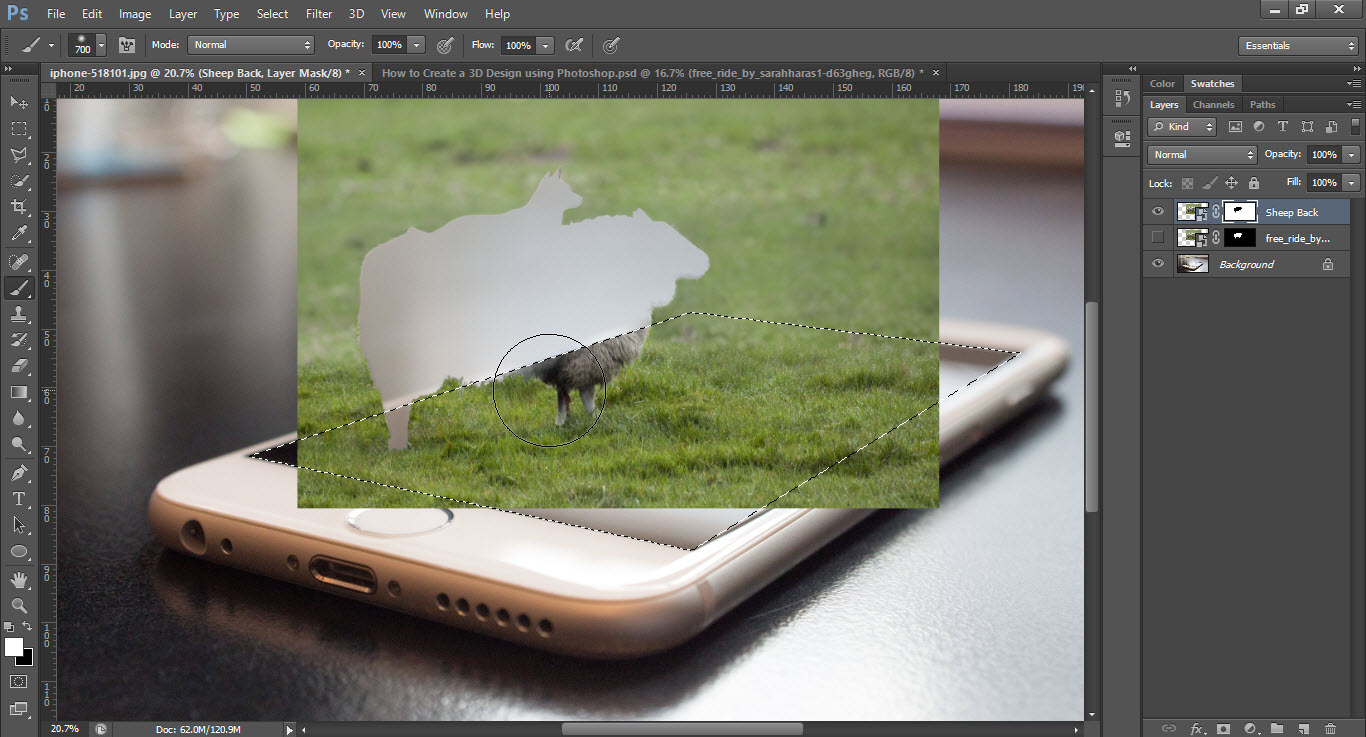
Bringing Parts Back
Step 11. Press Ctrl+ Shift + I to invert the selection then Press Ctrl+ Backspace to remove selected parts. If you are having a problem with it, use the brush tool and paint with black color.
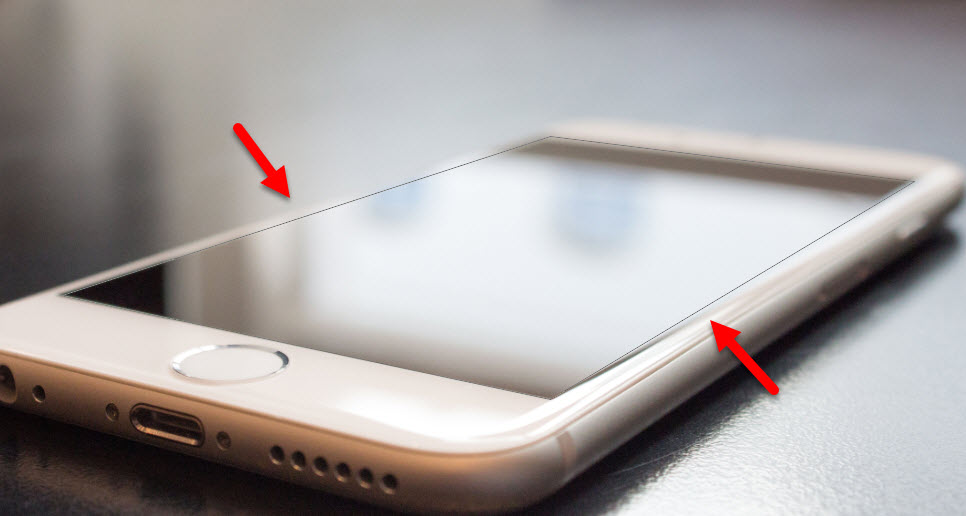
Step 12. Around the edges of the screen seems to have a problem. In order to fix that, I will the Content Aware. First one of the edge, and press Shift+ F5 on the keyboard and select Content-Aware. Do the same with other edges.
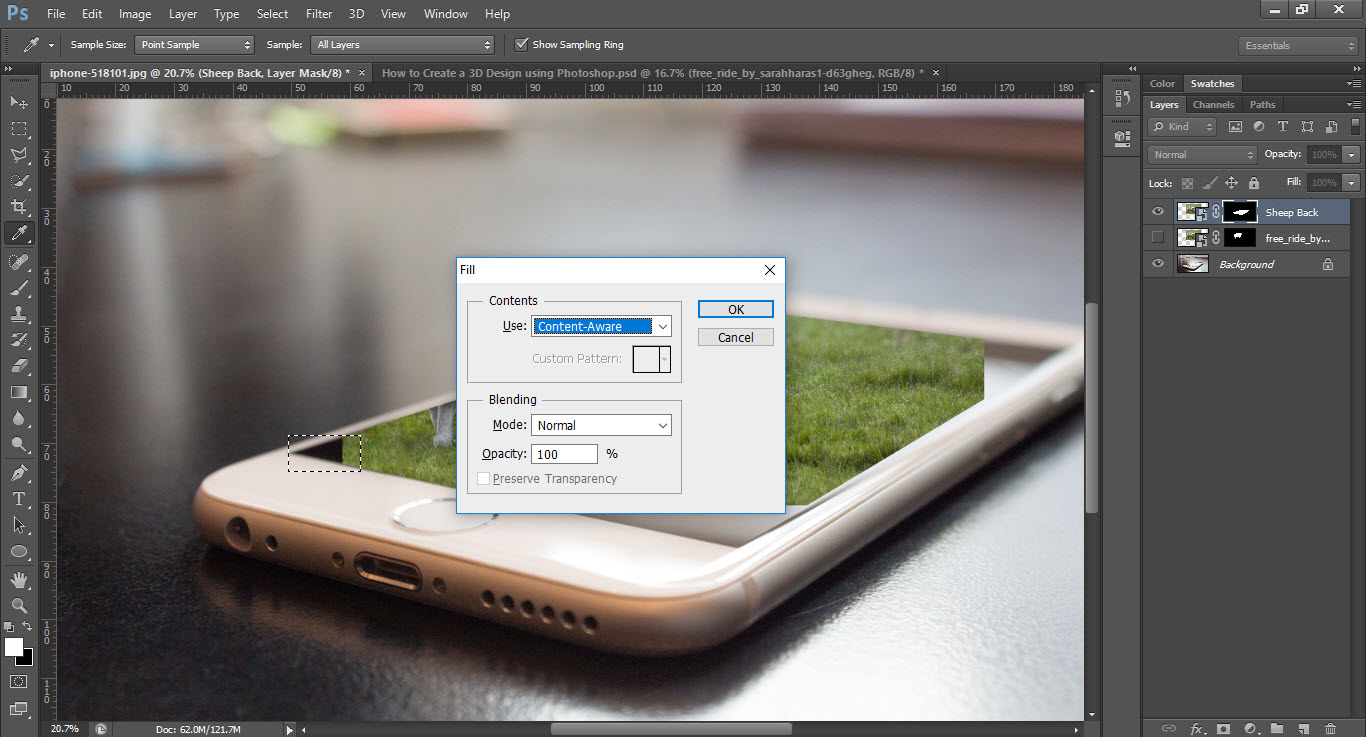
Fill with Content-Aware
Color Correction of the Sheep
Now have a look at the Final Project without Color Correction.
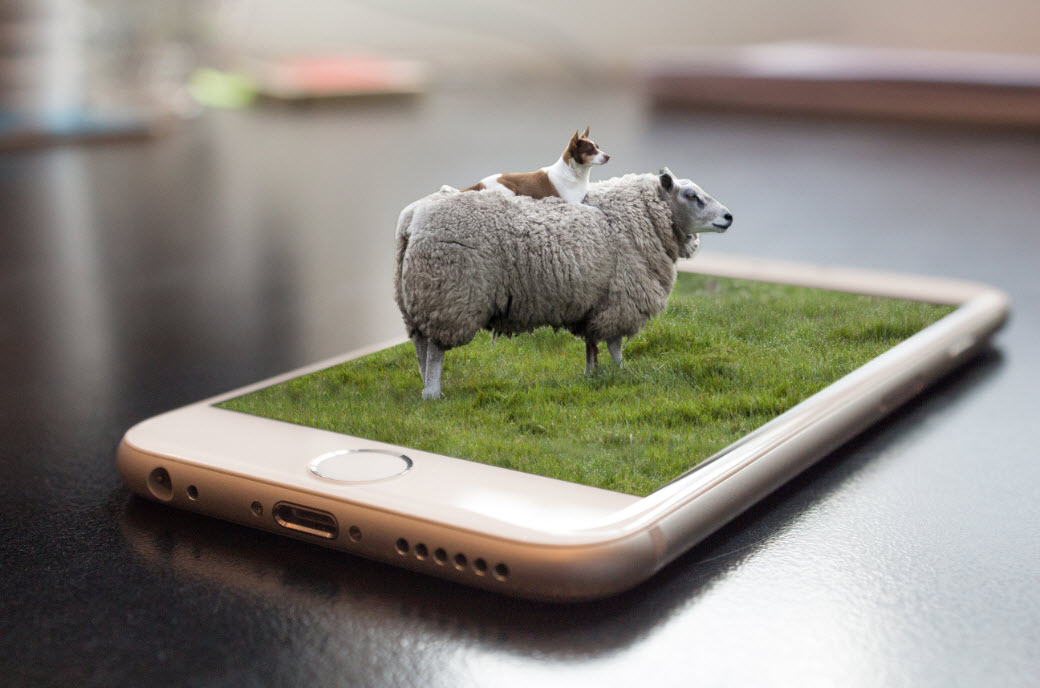
Final Project without Color Corrections
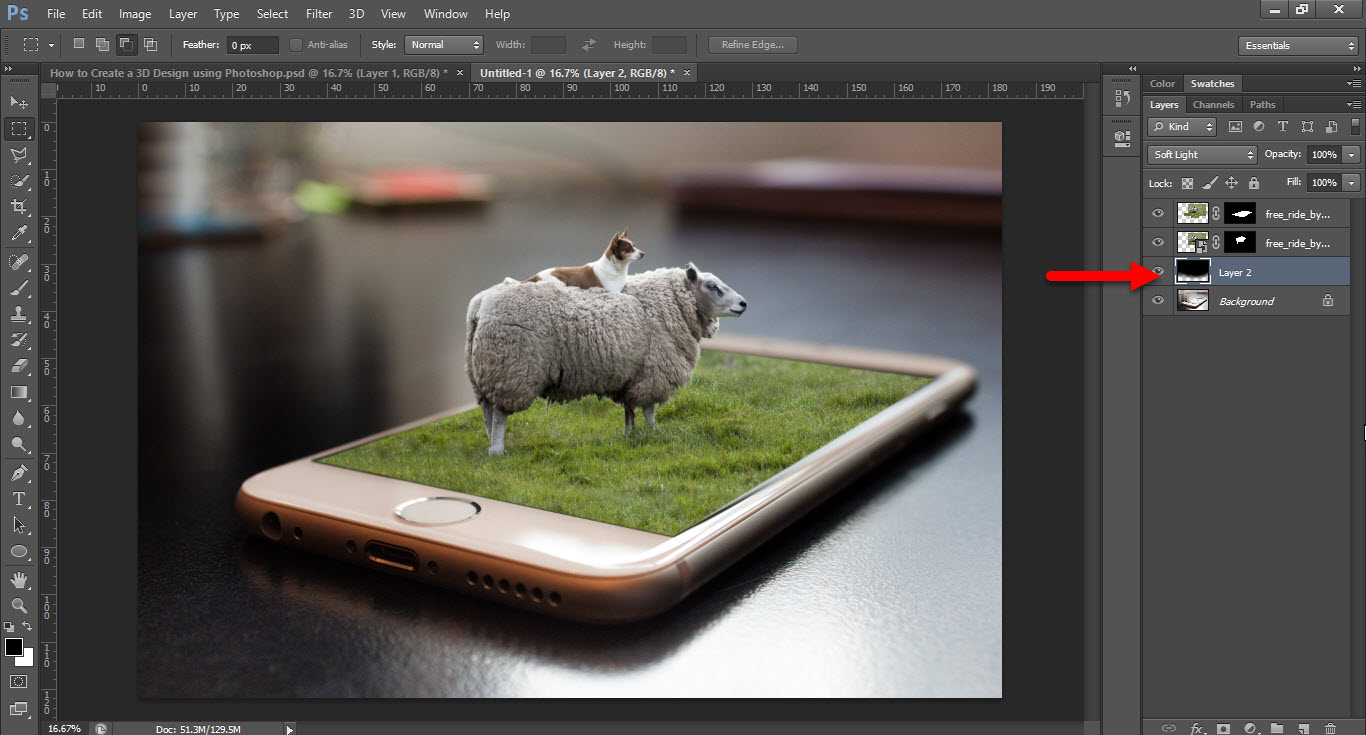
We need to make changes in order to make it perfect and awesome. To do that first we will add shadow to the picture by creating a new layer above the background. After creating a layer, fill it with black color and change the blending mode to soft light.
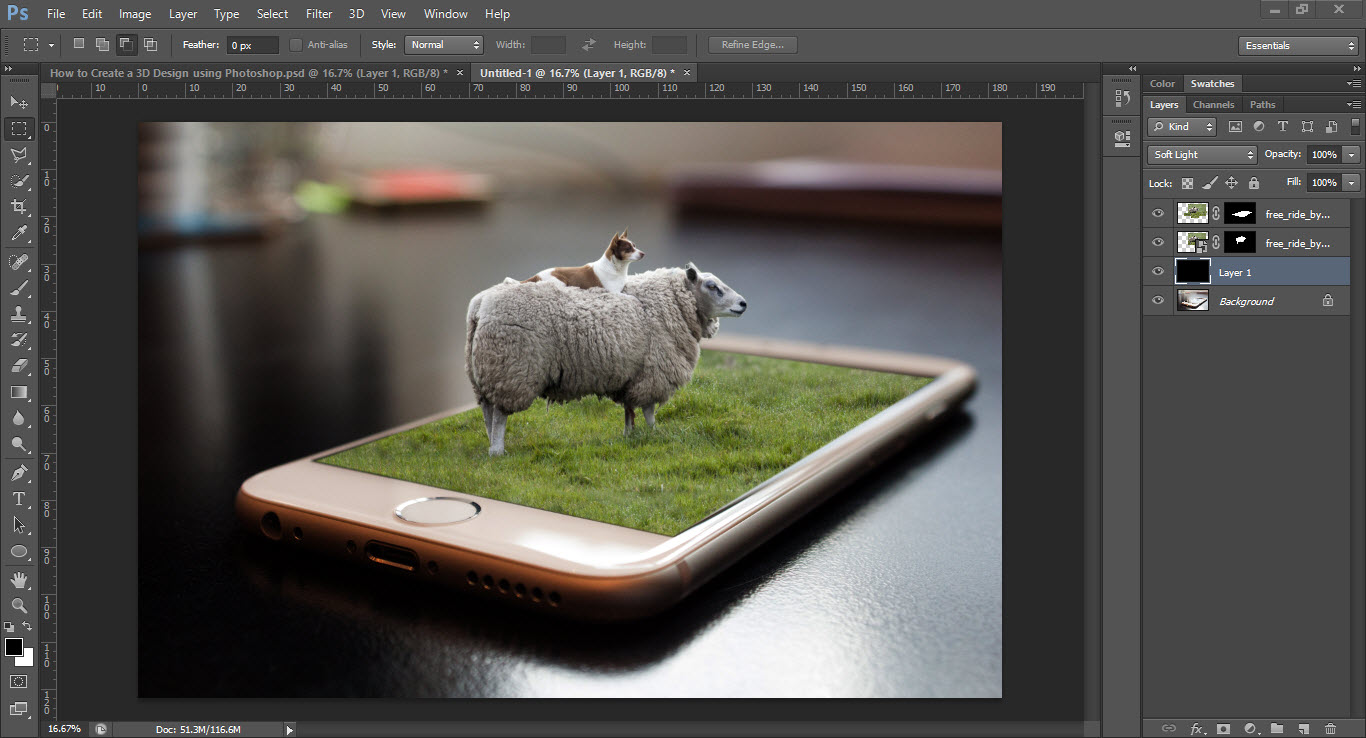
Creating shadow
I don’t want all the shadow around, especially under the iPhone. So, create a mask or remove it using the eraser.
Removing parts of the shadow
The next step is creating a sun. To do that, create a new above all the layers and fill it with black color. Then navigate to Filter, render and select lens flare. They apply settings in the screenshot.
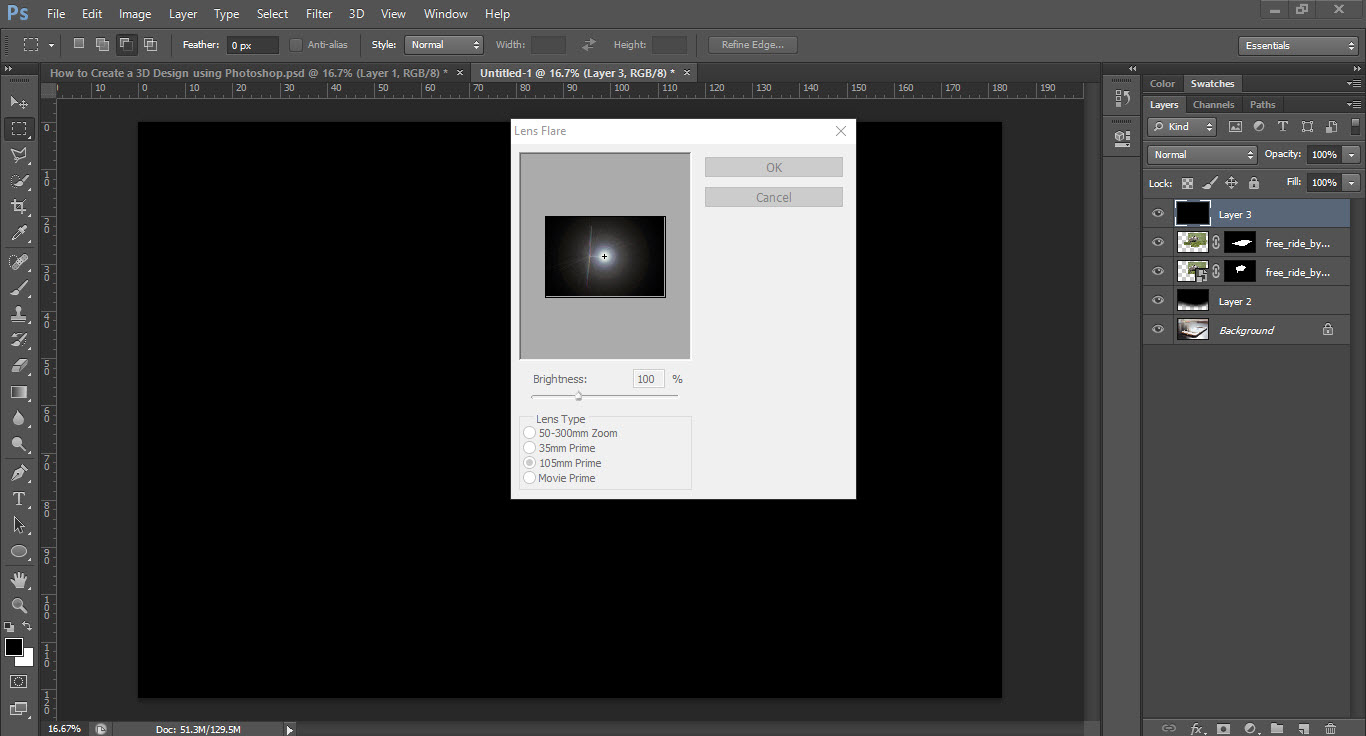
Create a Lens Flare
After that right click on the layer and convert it to the smart object.
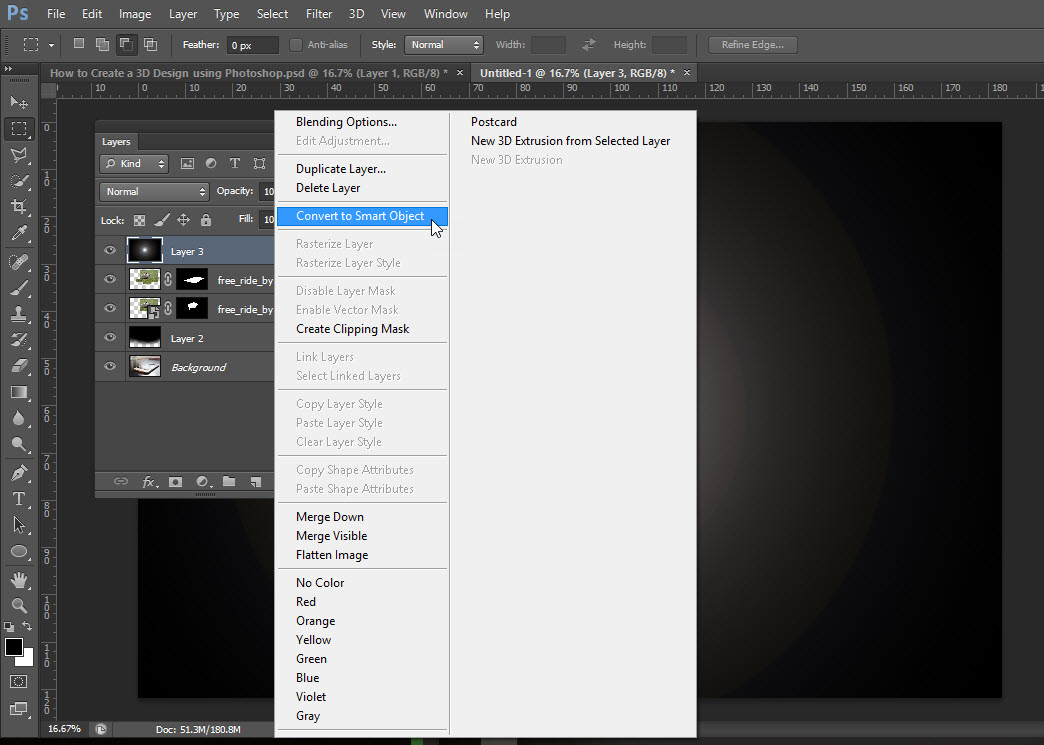
Convert to Smart to smart object
Then visit the Filter menu, Blur, Gaussian Blur. Put the amount of Blur 46 and place that above the sheep to look like a sun.
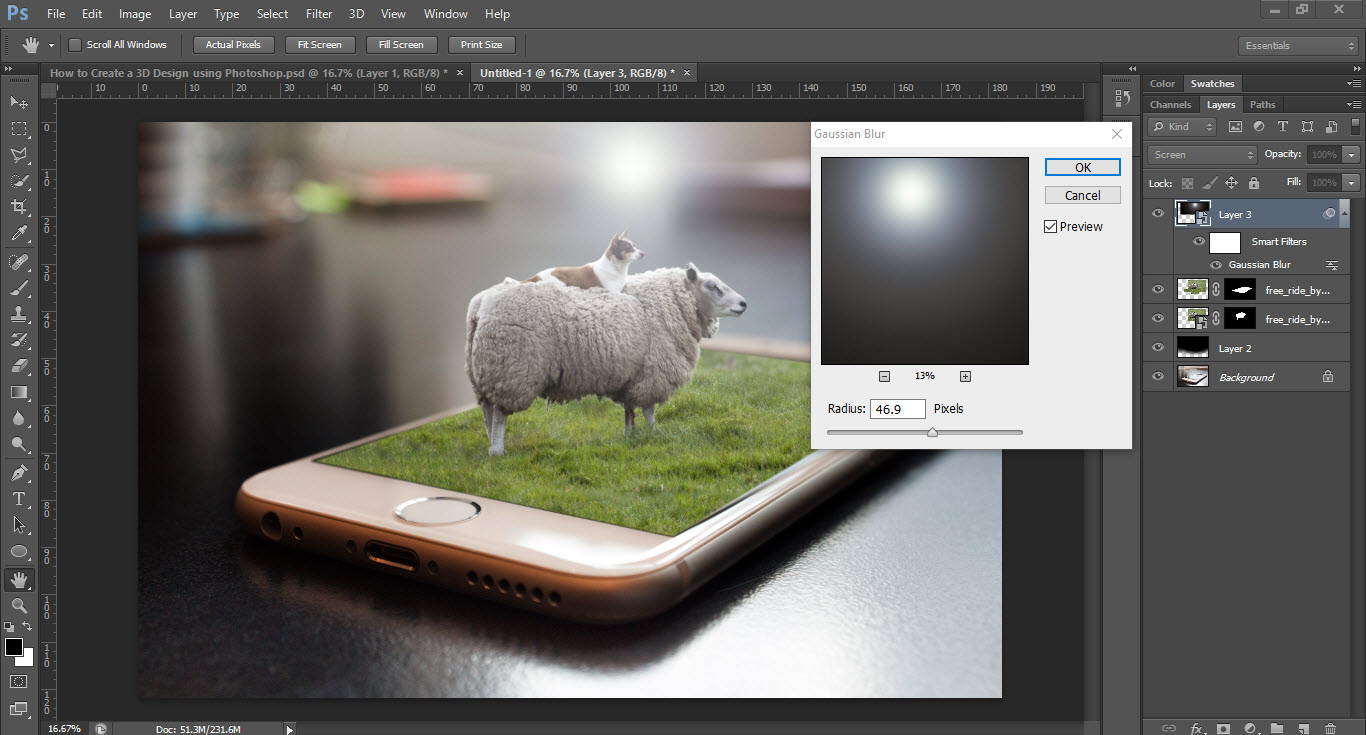
Amount of Gaussian Blur
Now, we need to bring changes to the light. Press Ctrl+ U to open Hue/saturation and apply the settings as the screenshot.
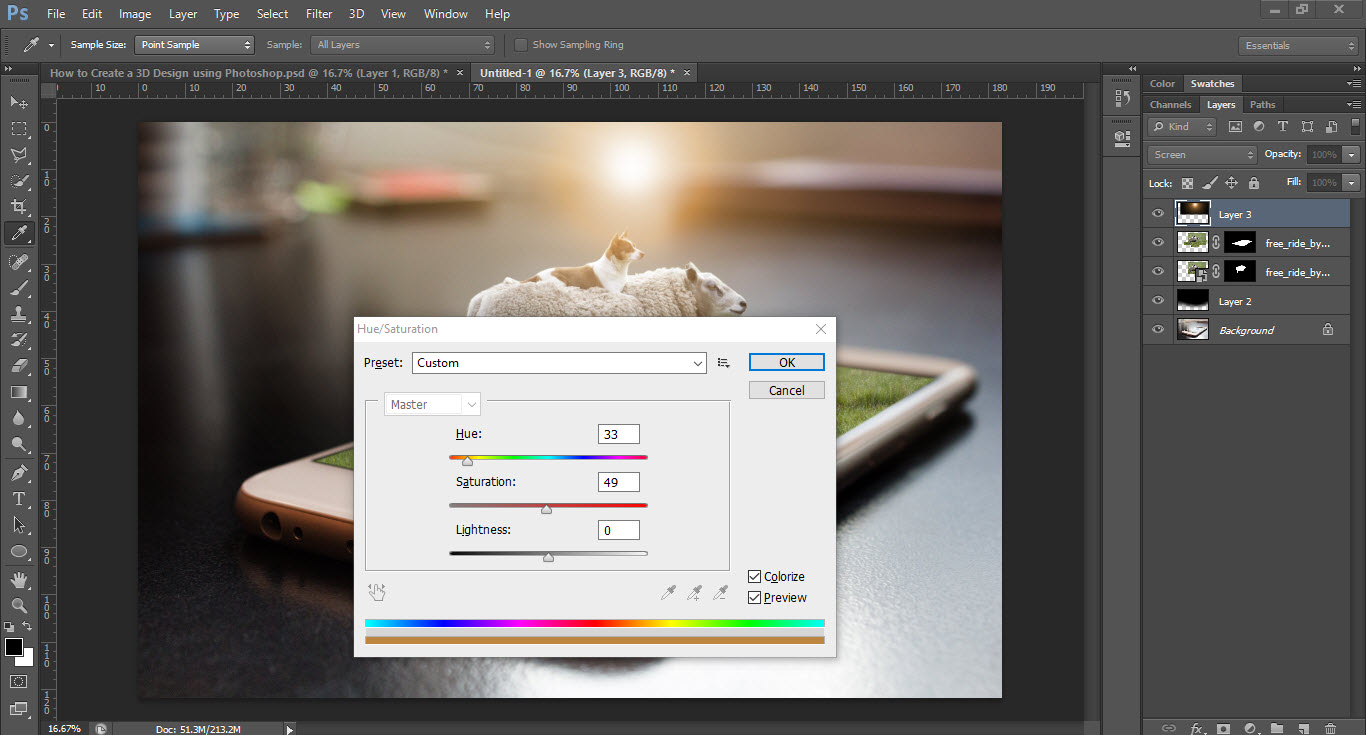
Adjusting Hue/Saturation
This time we are going to create a shadow just on the sheep. So, hold the Ctrl key and click on the mask of the sheep to enable the selection. Then create a new layer, after that with black and white Gradient draw just like the screenshot.
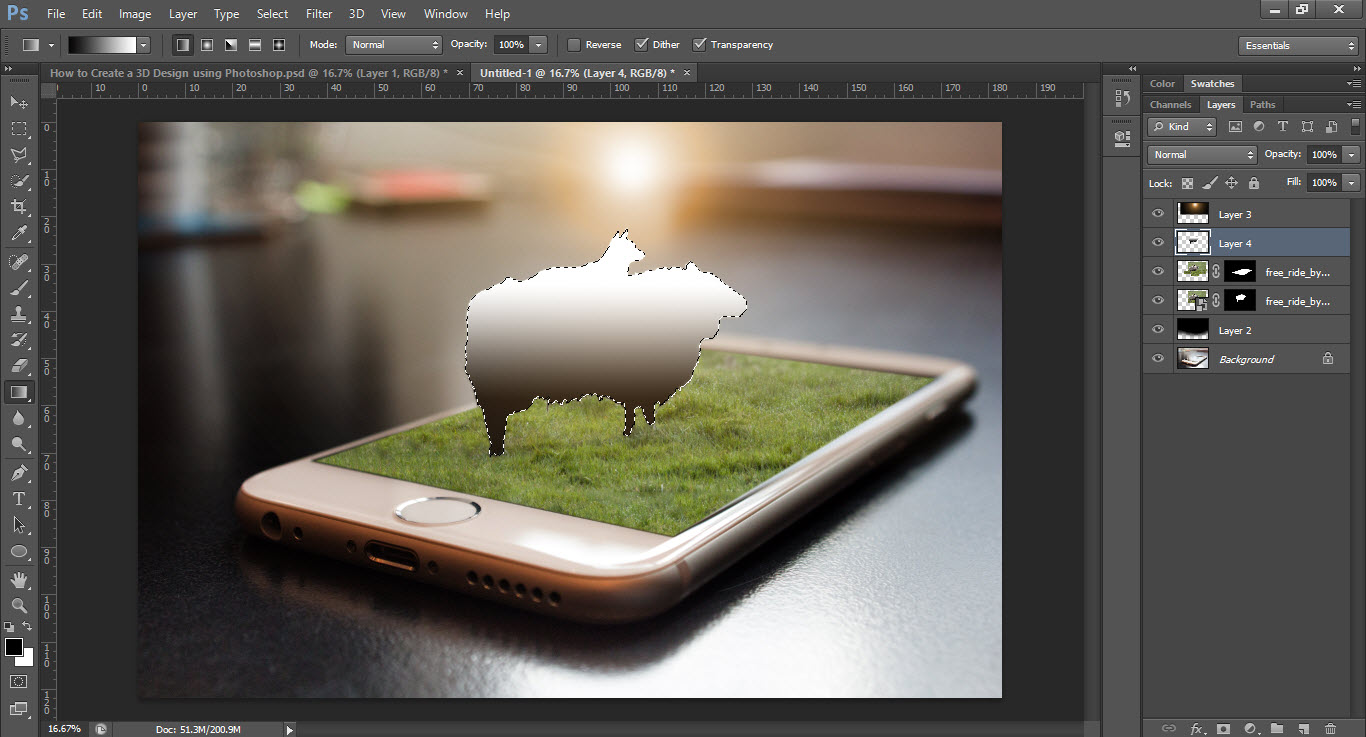
Drawing Gradient
After applying Gradient to the sheep, change the blending mode to Multiply. Also, decrease the opacity to 54%.
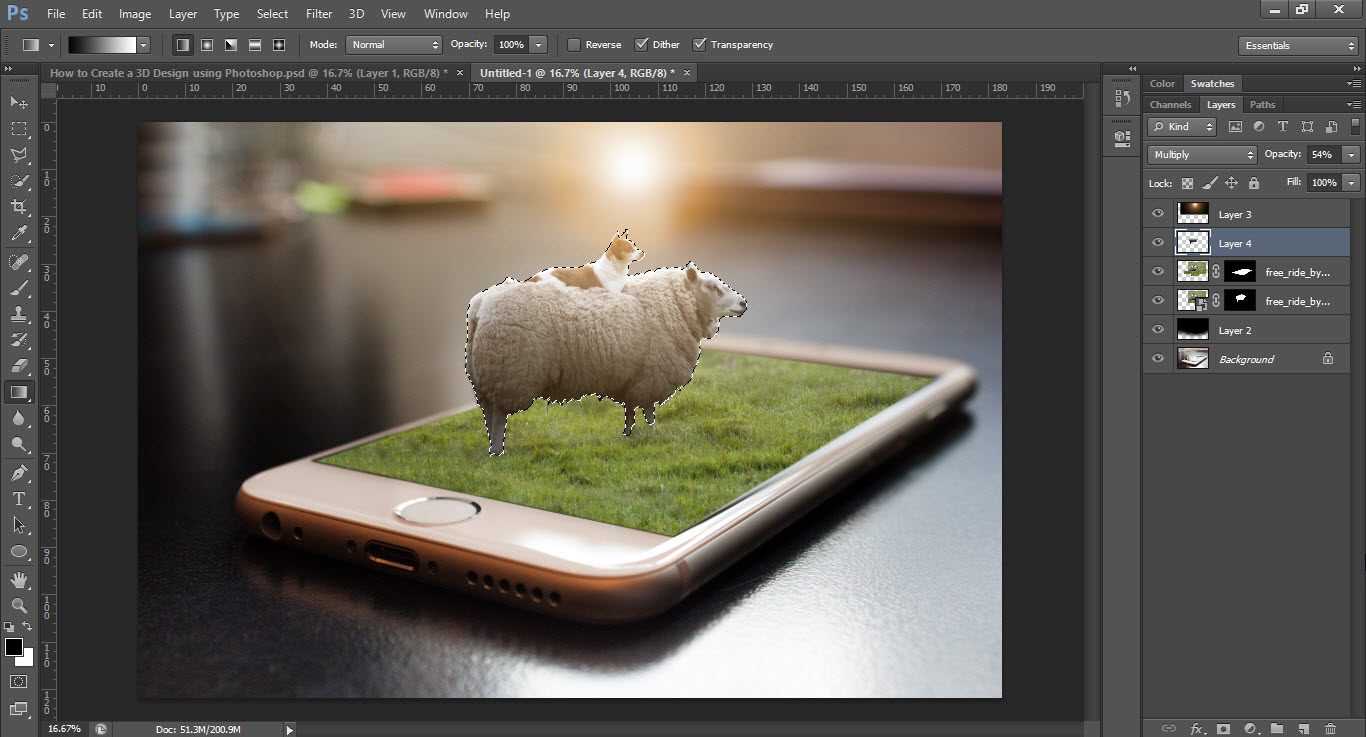
Adjusting the Opacity
Once again hold the Ctrl button and click on the sheep layer to enable the selection. Again paint it with black color but transform it to vertical under to the sheep to look like the shadow from the sun.
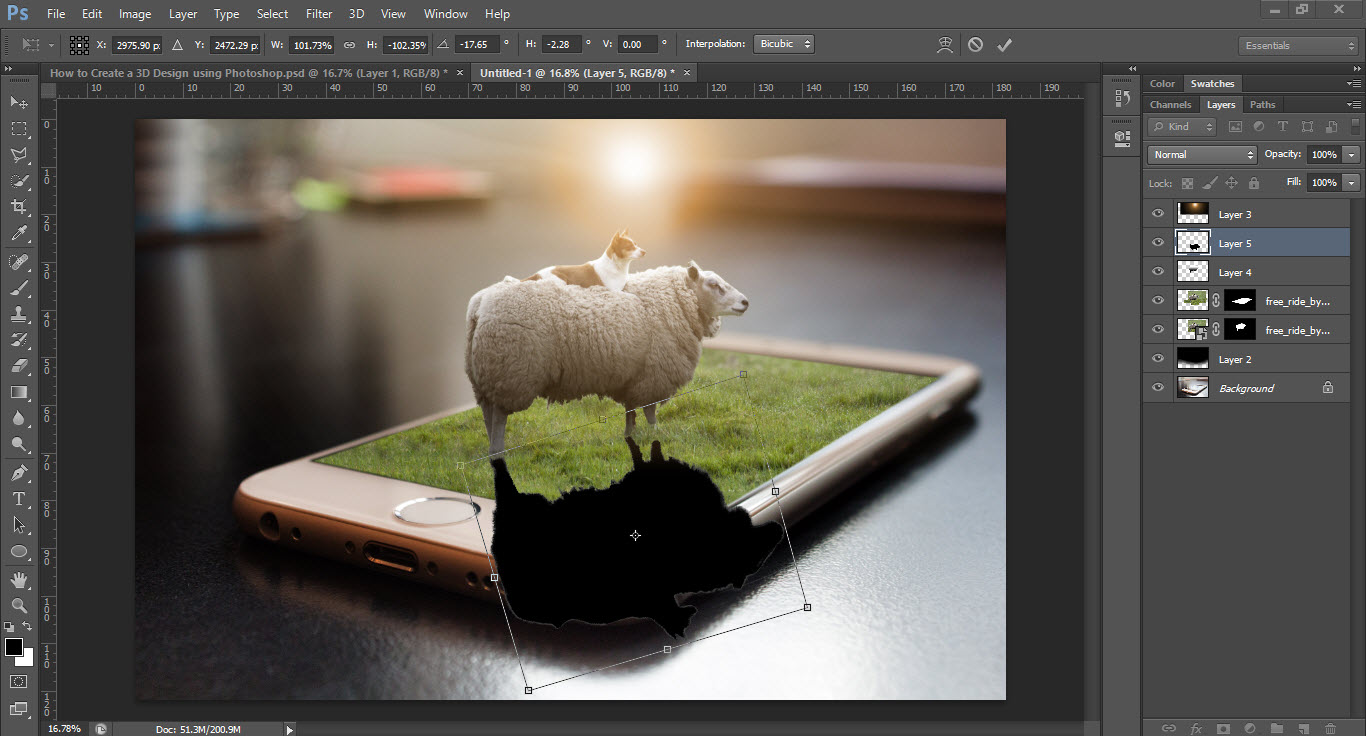
Creating Cast Shadow
Go ahead decrease the opacity to 23%, and also remove some parts of shadow under the iPhone. Then visit the filter menu, blur, Gaussian Blur and change put the amount 6.
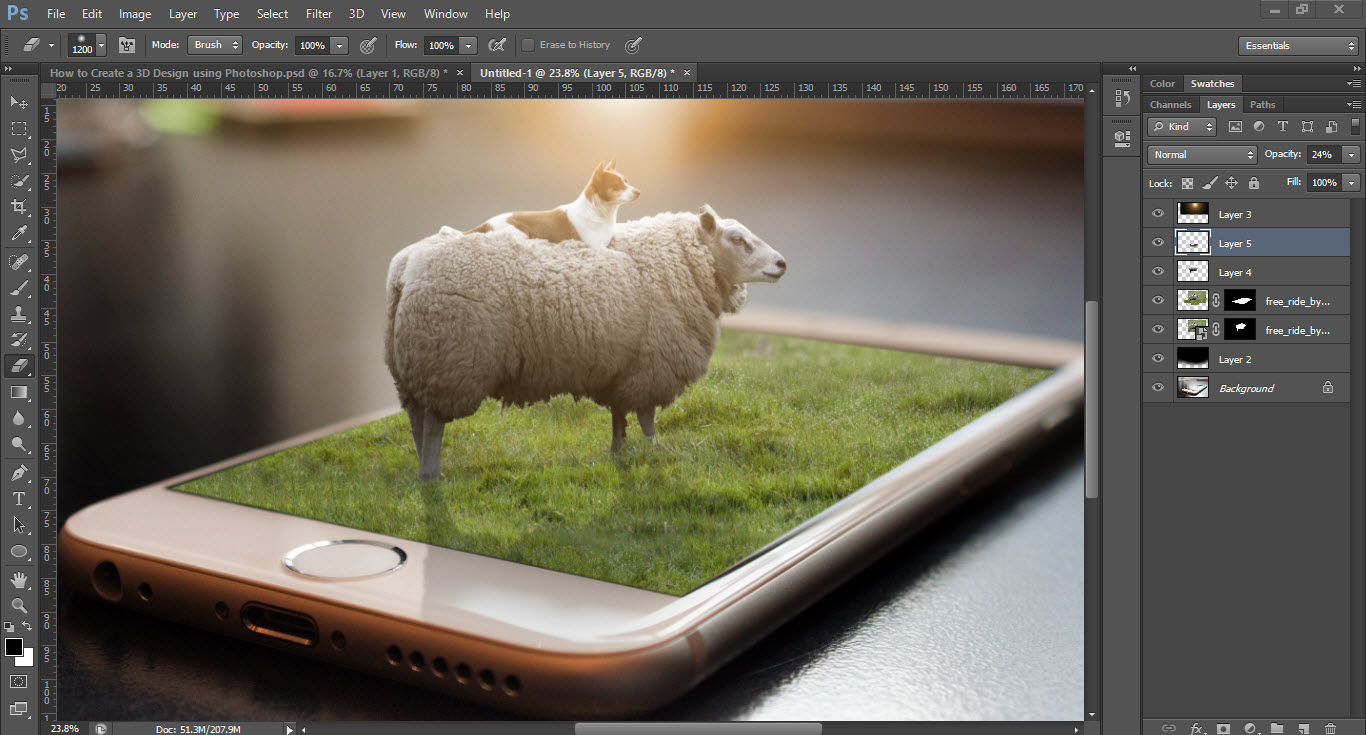
Created Cast shadow
Overall Color Correction
In this section, first, we have to make it dark using the curves on using form layer panel. (Make it slightly dark not too much).
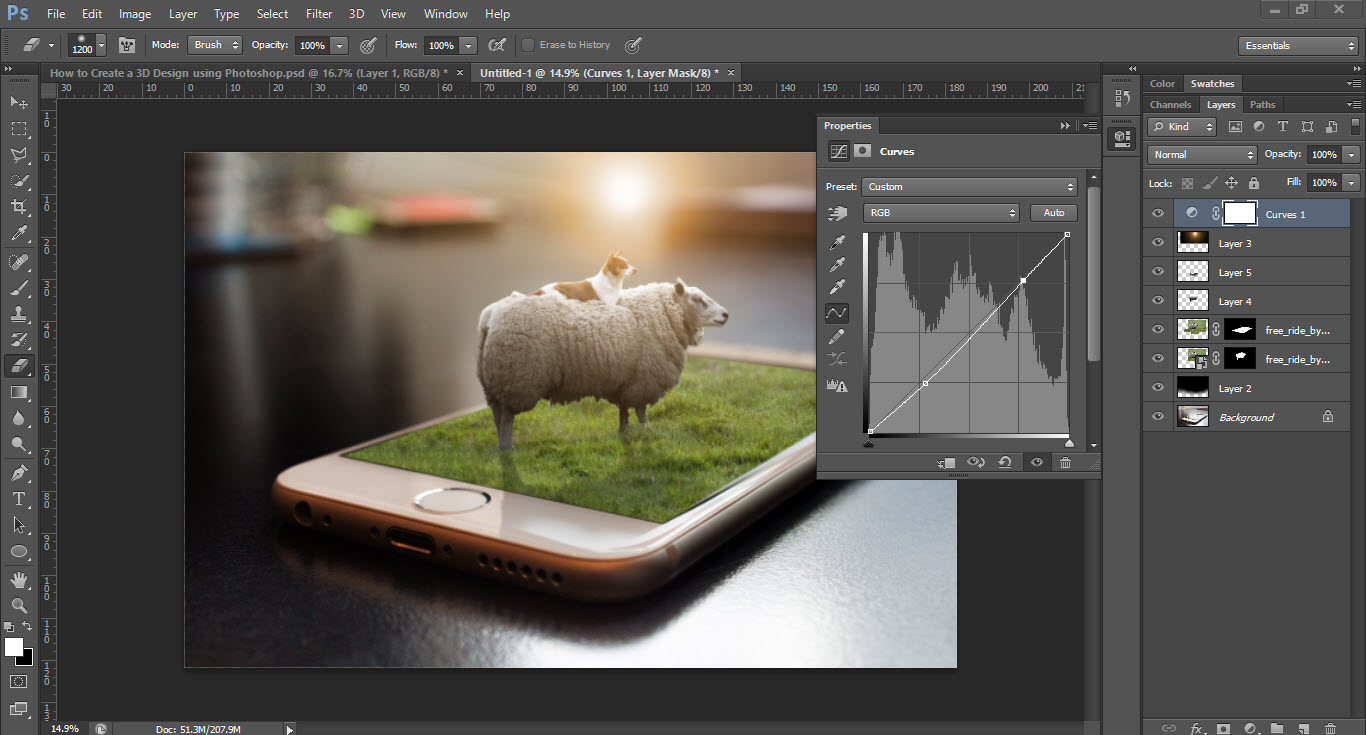
Adding Curve
This Time we need to apply color balance to the Picture. Apply the settings below as in the picture.
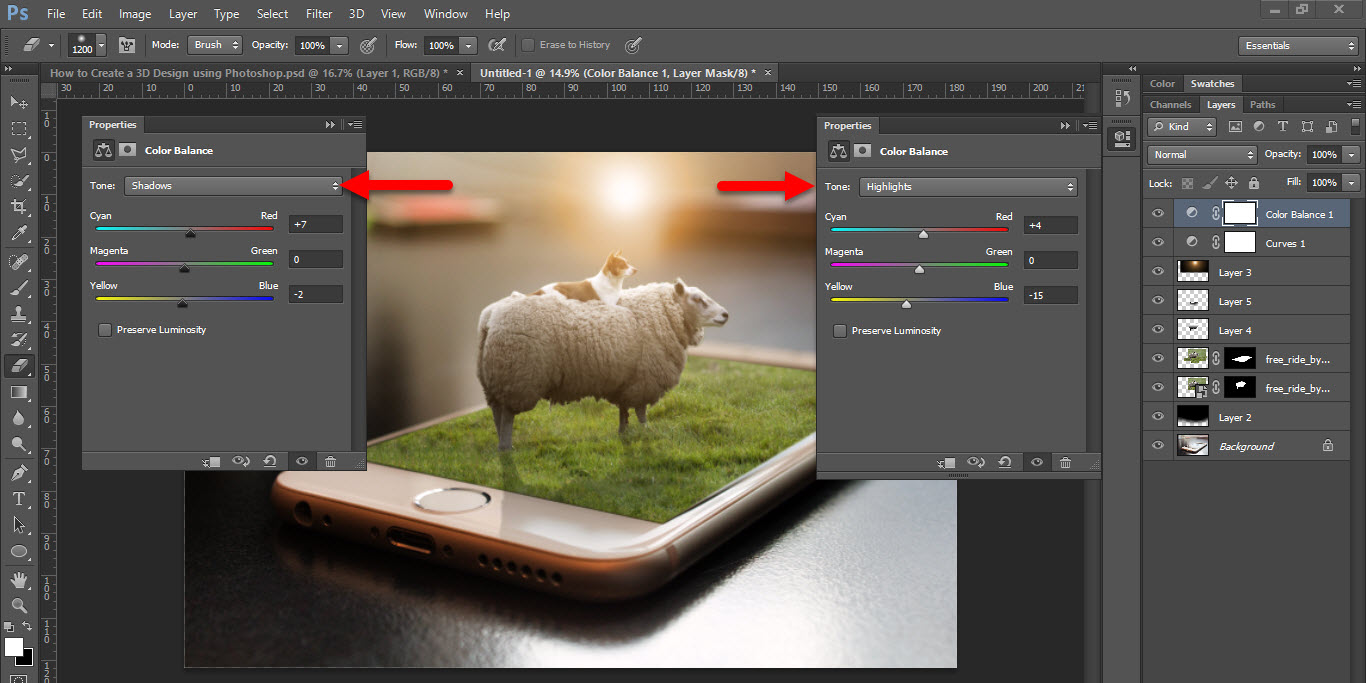
Highlight & Shadow settings of color balance
And the final adjustments are selective colors. Again Apply the settings below as in the picture.
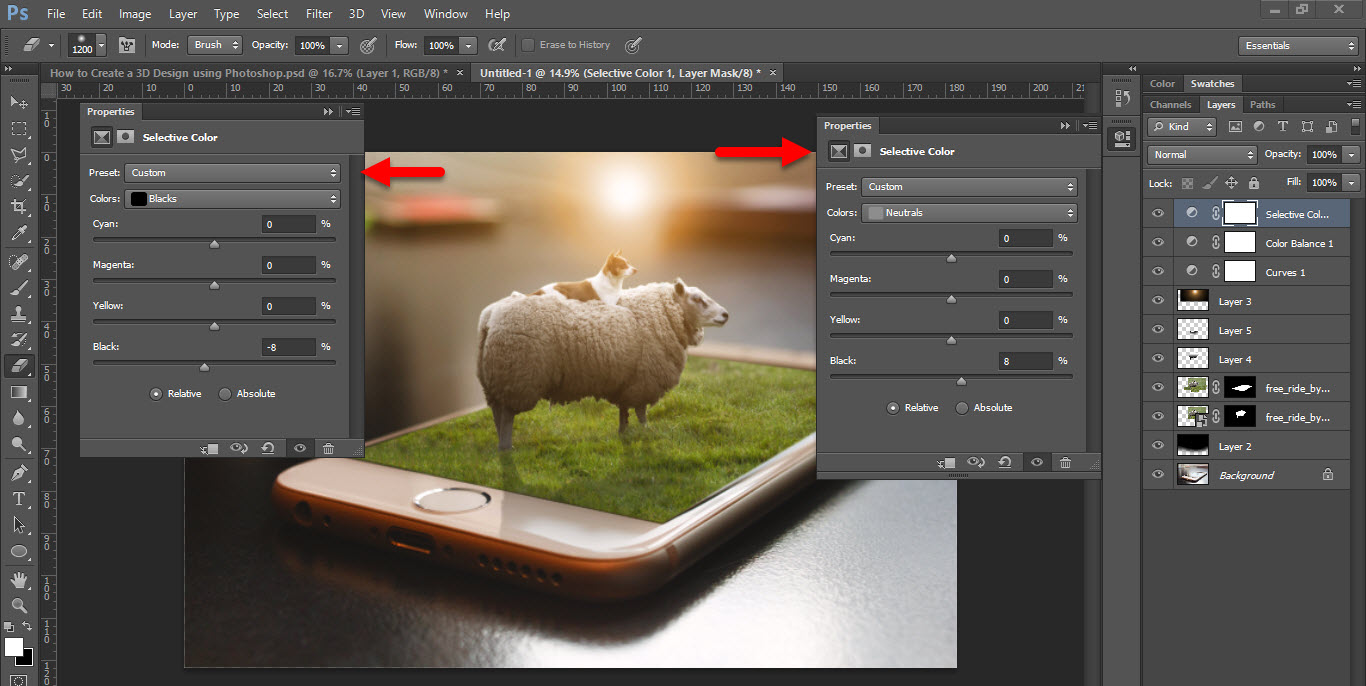
Settings of the Selective Colors
Conclusion:
This was all about on How to Create Manipulation 3D with Photoshop CC 2018? I hope this Article was helpful to You. If you have any idea or suggestion Please comment on the article or visit the Forum.